Highchair fix
Problem statement
My sister reproduced and wanted to use my old antique high chair, but one of the pins that holds the food tray in place was missing. She asked if I could fix it. Since the chair is antique, I wanted to make it as authentic and matchy matchy as possible. I didn't want to use materials that brought attention to the repairs, so any 3D printed or welded stuff needed to be integrated in a delicate and harmonious way.
Device Description
The pin consists of four parts. A Bracket, the metal pin itself, a spring to keep it in the locked position, and the wooden knob which is also what keeps the pin held into the bracket.
Repair Description
The pin, knob, and spring were all lost to the ages. The bracket was broken such that the pin retaining ring crimped to the end was gone. A new pin, knob, and retaining ring would have to be fabricated or acquired. Good thing I have Heatsync Labs to help me create the new parts!!
The Repair!
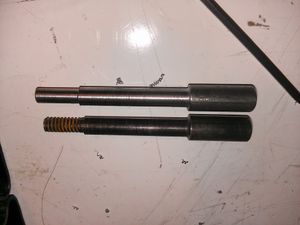
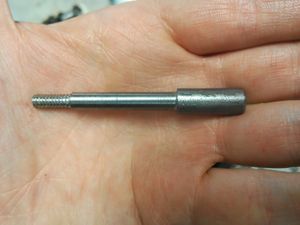
Machining the pin was easy but stressful to fabricate on a 7x10 mini lathe. Luckily the old pin was lathed from a standard piece of mild steel round-stock, so even the surface finish of the unmachined part matched.
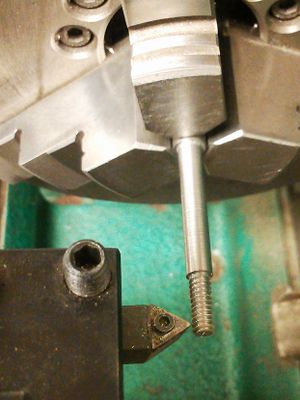
Threading to fit the 10-24 nut was done using a second (bigger) lathe and a triangular carbide insert. Due to the low quality of the carbide and the lack of end support the cut quality was non optimal and was chased with an appropriately sized die to clean up the threads.
I found a new spring at ACE and a new knob at Home Depot.
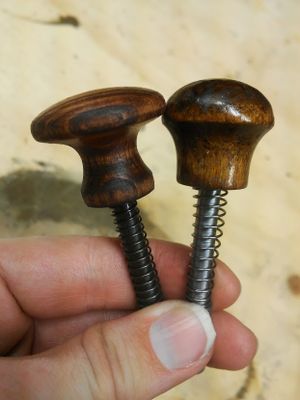
The knob was not the correct shape, and I lacked the resources necessary to fabricate a new one out of wood. I tossed around the idea of 3D printing a new knob with wood PLA but it's expensive and it wouldn't stain the same anyway. I figured it was better to match the look than just the shape and bought a pine knob.
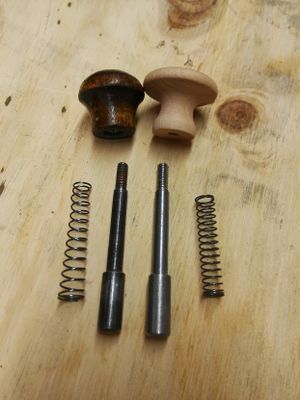
I milled a hole in the bottom of the knob with a square endmill just deep enough to press a 10-24 nut into and superglue. A threaded insert would have been a better choice but I ran out of time. A coating of redwood followed by a coating of ebony produced pretty darn good results! A followup with shellac gave it the perfect yellowish sheen and it matched very well.
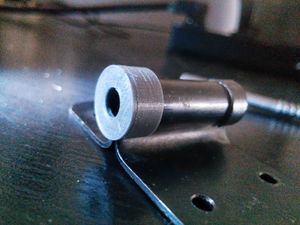
The bracket was a special problem. I had intended on welding a retaining cap onto the end made from a washer but I accidentally left the damaged bracket with my sister. I could test fit the piece onto the good bracket but could not attach. I decided against lathing one out of steel because I wasn't sure that I could make it thin enough and properly glue it, so I decided to 3D print one out of silver PLA on the Heatsync Lab's Ultimaker, which is at least a good match to a steel color. Gel cyanoacrylate should finish the job as the press-fit is tight but not quite tight enough.
Results
I think that the repair came out much better than my sister had expected. That made me happy because I really did put a lot of time and effort into making it look all slick and invisible. I didn't want it to look like an Idaho Fix which usually involved bailing twine and duct tape.
Update
The repair last about two and a half years, when the PLA become brittle and shattered. Perhaps some epoxy and a metal washer is a better solution than a plastic.
